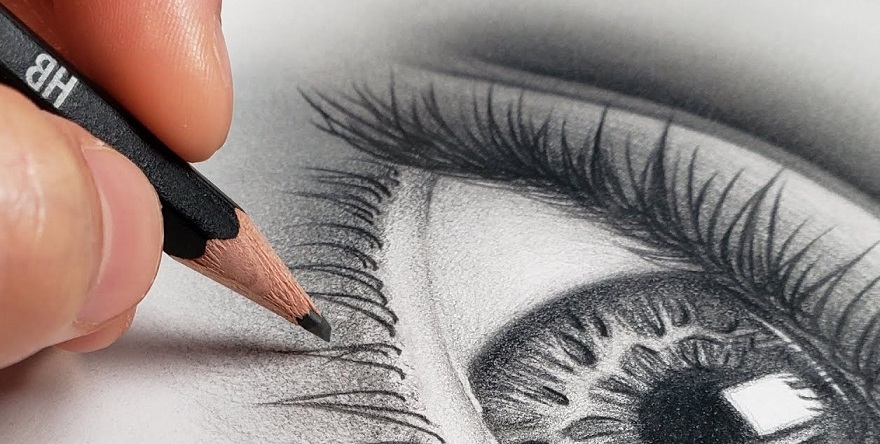
Drawing eyelashes is a great way to give your drawings an extra feminine touch. Drawing realistic eyelashes can be quite tricky, but with the right guidance and techniques, you’ll be able to create beautiful and unique eyelash drawings. This tutorial will teach you how to draw lashes step by step, as well as some tips and tricks for creating realistic looking eyelashes.
The Necessary Material
Before you start drawing lashes, it’s important to make sure that you have all of the necessary materials. You’ll need a pencil or pen (depending on what type of medium you prefer), an eraser, paper, and something to draw on (such as a canvas or board). You may also want to use other materials such as markers or colored pencils for shading purposes.
How To Draw Eyelashes Step By Step
Once you have gathered all of the necessary materials, it’s time to learn how to draw eyelashes step by step! Here are 8 steps that will help guide you in creating beautiful lash drawings:
Step 1: Plan the hair direction
Before starting your lash drawing, plan out where each individual strand should go in order to create the desired shape of your lashes. Make sure that each strand follows a consistent direction and pattern so that your lashes look natural when finished.
Step 2: Fill in Lashes by Section
Once you have planned out where each individual strand should go, begin filling them in section by section using short strokes for each one. Start from the outer corner of the eye and work inward towards the inner corner for both upper and lower lashes. Make sure not to overlap any strands too much; this will make them look unnatural when finished.
Step 3: Add Unique Lashes
To add some depth and dimensionality to your lash drawing, add some unique strands throughout; this could include longer/shorter strands or thicker/thinner strands depending on what type of look you are going for. This will also help bring more life into your lash drawing!
Step 4: Spread Lashes Out
Once all of the basic structure has been filled in with short strokes, use a slightly wider stroke (but still relatively thin) to spread out each individual lash outward from its root at an angle so that they appear more feathery when finished. This will also help soften up any harsh lines created while filling in sections earlier on in this process.
Step 5: Introduce A New Layer
After the basic structure has been filled in, introduce another layer over the top using similar directions but drawing slightly different strands to avoid adding too much weight to existing ones, which could cause them to collapse under their own weight once dry.
Step 6: Add Random Lashes
As mentioned above, introducing randomness into your lash drawing can really bring it to life. Adding different lengths, widths, angles, etc. to different areas throughout can really give your drawing movement, which is essential if you want it to appear realistic when complete.
Step 7: Add Some Shading
After adding randomness to certain areas throughout, take some time now to focus on shading those areas appropriately, bringing further depth into those sections. However, note that overshading specific areas may lead to a ‘flat’ appearance overall, so keep things balanced!
Step 8: Add Some Reflections
Finally, once everything else has been taken care of, don’t forget to add reflections into the mix! These small touches are often overlooked yet crucial in making the whole thing come together nicely and giving the illusion of realism!
What To Remember About Eyelash Drawing
When learning how to draw eyelashes, there are several key points that must be remembered if one wishes to achieve successful results, such as:
- Pay attention to detail – Even though individual hairs may seem insignificant, pay close attention to detail to ensure that every single one is accurately placed, following the correct pattern. Otherwise, the entire image will suffer.
- Keep things balanced – When shading certain areas, try to avoid overdoing it with particularly heavy shading because there is a risk of flattening the entire image. Balancing between light and dark tones creates a more dynamic effect.
- Don’t forget reflections – Last but certainly not least, don’t forget about reflections. Even though they are a small addition, they can really tie the whole thing together, making the final product look very realistic indeed!
These posts may be of interest to you:

